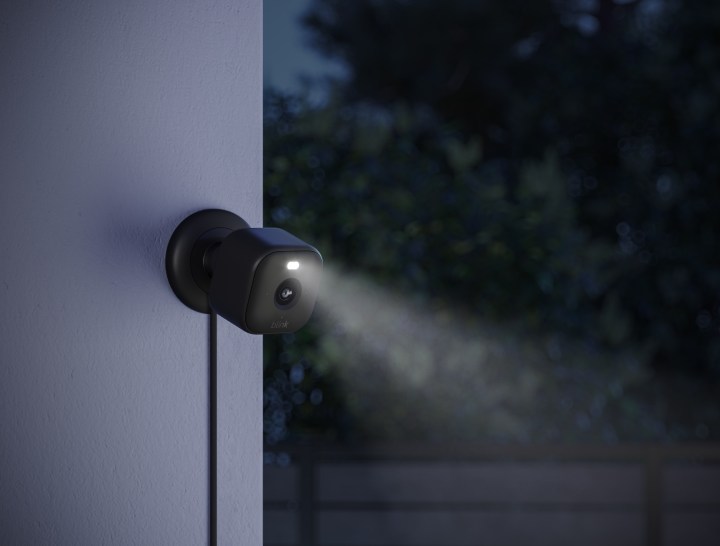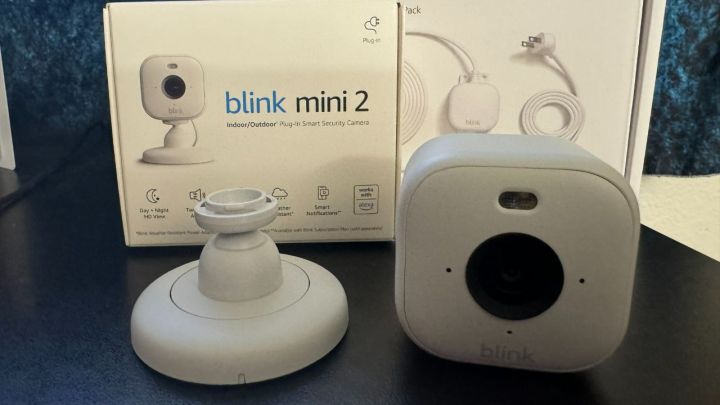
The Blink Mini 2 offers an affordable way to keep tabs on your home. Clocking in at just $40, you'd be hard-pressed to find a security camera that offers better value. Along with 1080p footage capture, you can set up customized motion zones, activate Person Detection, and modify a bunch of other settings via the Blink mobile app. One of the best things about the Blink Mini 2, however, is that you can mount it on a wall or ceiling for improved visibility. It also comes with a basic stand for tabletop use.
Unsure how to mount your camera or afraid to snap the plastic stand in half while removing the camera? Here's a closer look at how to mount the Blink Mini 2 and remove it from its stand.

How to remove the Blink Mini 2 from its stand
By default, the Blink Mini 2 will come preinstalled on its stand. This lets you manually swivel and pivot the camera to find the best viewing angle for your home. It also lifts it off the ground a few centimeters, ensuring your view isn't blocked by nearby objects. However, if you want to remove it from the stand to make it more compact, Blink gives you that alternative. The process is easy – though it might be intimidating if it's your first time attempting the procedure. Here's how it works.
Step 1: Hold the base of the stand with one hand. Consider positioning the mounting spindle between two fingers for added stability.
Step 2: Grasp the camera with your other hand.
Step 3: Pull the stand and camera in opposite directions.
Step 4: You'll need to apply quite a bit of pressure, but the camera will eventually pop off the stand. The process might also result in some nasty popping sounds and bending plastic. Don't worry – this is normal, and no damage will be caused to the product.
Step 5: That's it! The camera is now removed from the stand. To replace it, simply line up the camera with the mounting spindle, apply downward pressure, and it'll snap back into place.

How to mount the Blink Mini 2 to a wall or ceiling
The Blink Mini 2 includes everything you need to attach the camera to a wall or ceiling. Here's how it works.
Step 1: Remove your Blink Mini 2 from its stand.
Step 2: Slide the exterior plastic ring off the stand. This will reveal two screw holes.
Step 3: Determine where you want to place your camera (ensuring an electrical outlet is nearby for its plug), then use two screws to attach the mounting bracket to the wall or ceiling.
Step 4: Replace the exterior plastic ring by lining up the notches on it and the mounting bracket. This shouldn't require much effort, as the two are designed to fit snuggly together. If you find yourself applying lots of pressure, try repositioning the exterior ring to better align with the mounting bracket notches.
Step 5: Snap your camera onto the mounting spindle.
Step 6: Plug in the power cable to the back of your Blink Mini 2.
Step 7: That's it! Depending on how you installed the camera, you may need to dive into the settings menu and activate the Flip Video feature. This can be found by selecting the More button on the device's thumbnail in the Blink app. Next, go to Device Settings and find Video and Photo. Here, you'll have the option to Flip Video.


